
How to install your Trinity Audio Player
The Trinity Audio Player Code needs to be installed within your site in order to start audiofying your content. In order to get the JavaScript snippet, you have to create the player first (more information below).
Each time you add a player to your Trinity Audio account a new unique installation code will be generated.
In order to install the Player Code, you can either follow one of our platform-specific guides, or you can manually install the Player Code.
Install Using WordPress Guide
Please refer to the installation guide for a step-by-step instructions on how to install the player code:
Manually Installing the Trinity Audio Player
If your specific platform is not listed above, follow the below instructions.
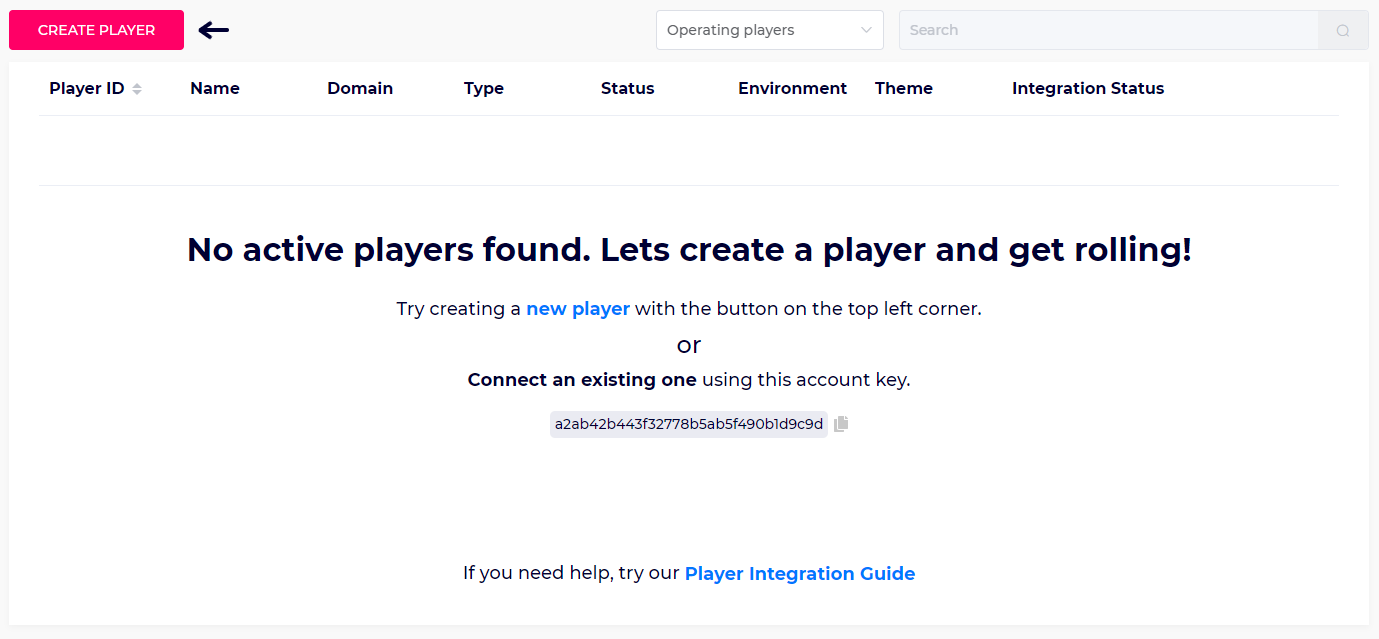
Step 1: Visit Players Configuration tab in your Dashboard
Under this tab, you will find all the integrations and player settings.
Step 2: Click on “Add New Player” to start an integration process of a new player on your website
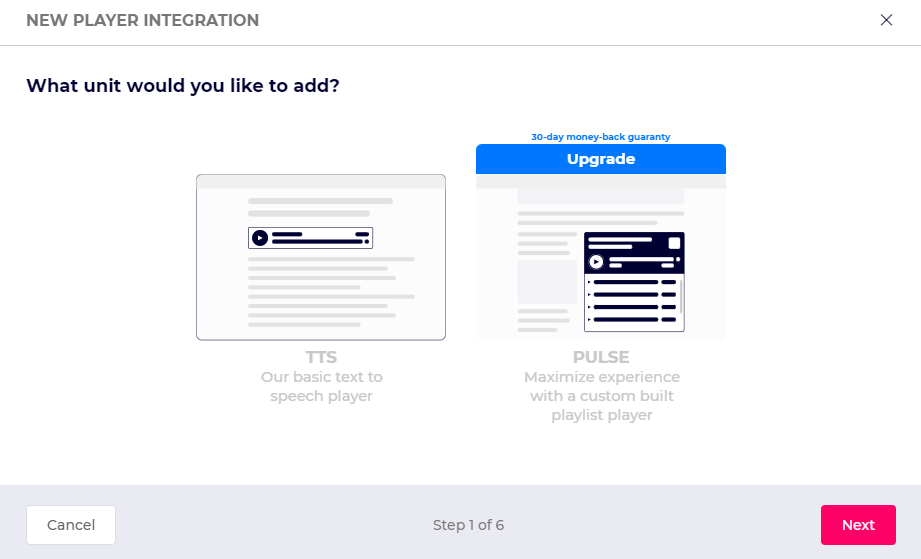
Step 3: Choose the type of player
In order to integrate the player, choose TTS player and click "Next"
Step 4: Choose or insert your domain
In order to integrate the player, we need to know what domain are you integrating.
Please make sure to provide the domain in the structure of domain.com
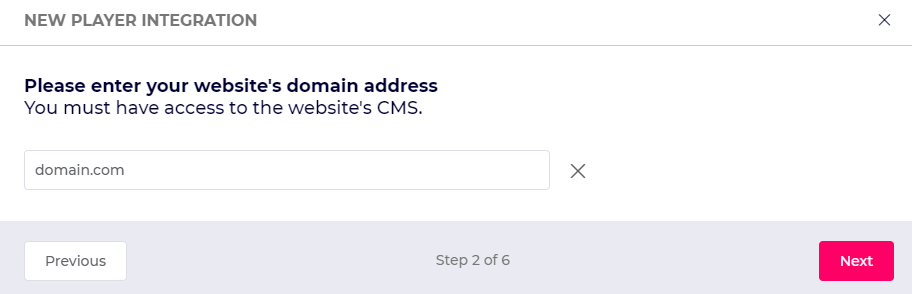
After clicking "Next" we will try to identify the CMS used by the domain and advise on a plugin. If non-such exists, continue to Step 5.
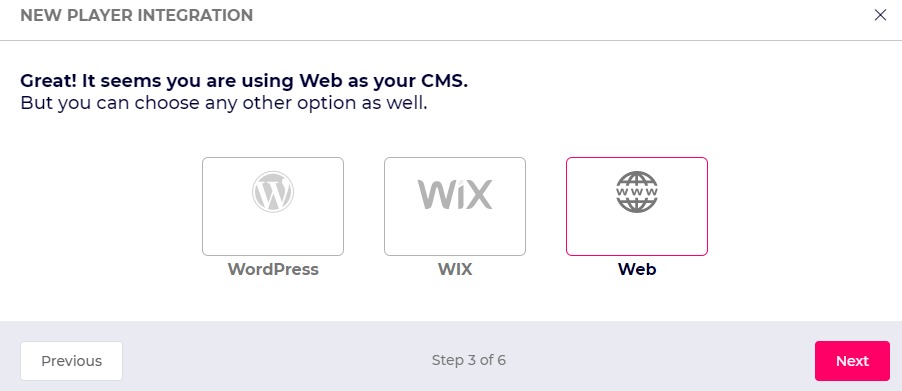
Step 5: Choose environment
Choose the CMS you are using. Choose Web for custom integration:
Step 6: Provide content page URL samples
In order for our product to verify that we are choosing the right content for your site, please provide URL samples of different content from your site.

Step 7: Select voice
Define the different settings of your player:
Choose language in which the content is written, including the accent you would like to use. For example, English Australia or German Switzerland.
Choose the character of voice, Masculine of Feminine.
Choose the voice you would like to use:
Choose the Standard or Premium tab. Premium voices creates superior listening experience and is available for paid packages.
Use the speaker next to each voice to listen to the voice.
Voices with a red wave symbol supports voice styles
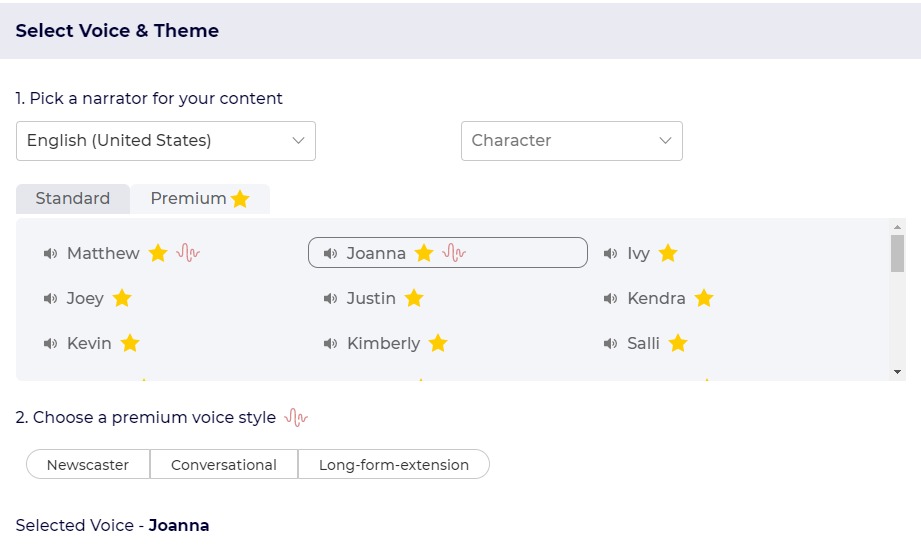
Click play to listen to a longer sample of the voice, with the selected voice style.
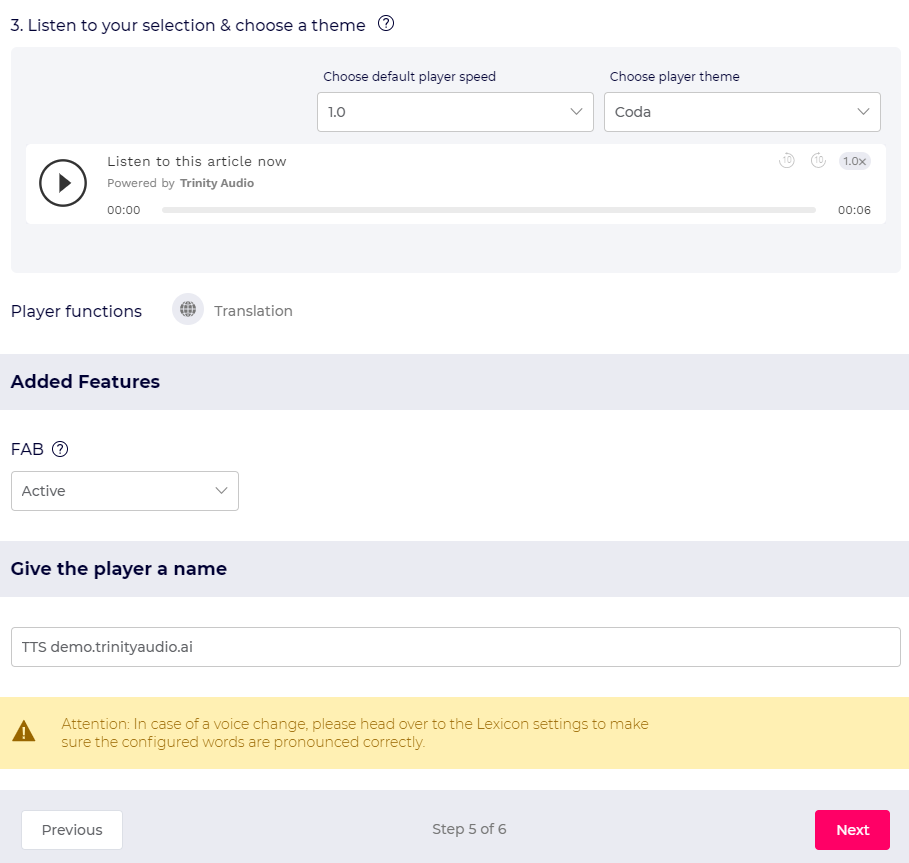
Select the default speed the player should play the content in.
Select the player theme you would like to use.
Additional features:
Translation: adding the option for users to translate the content in real time to other languages.
FAB: floating action button that follow the user while listening to the content
Give the player an indicative name.
Step 8: Get the player snippet
Click "Copy" to get the player snippet:
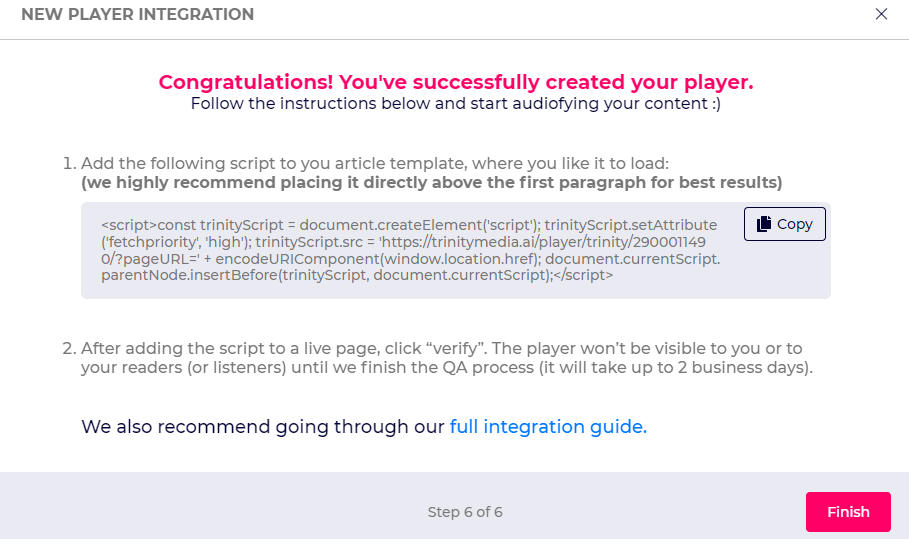
Step 9: Paste the snippet in your website
After creating the player, implement it into your site.
The player could be added to the site template and there is no need to add it to every single post.
The recommended location is directly above the first paragraph. In most cases, right before first <p> element.
Don't hesitate to reach our support if you need help selecting the right place for the player.
For additional implementation information, visit the dev implementation guide.
Important: until the player is verified by our team, the player would not be visible to your site visitors.
Step 10: Click Verify
Once you have added the Player Code to your website, you will need to wait a few minutes for Trinity Audio to check if it is installed correctly.
Click on the “Verify” button in order to enable our platform to automatically check if the implementation was done correctly.

Step 11: Wait for integration approval
Once Trinity Audio has detected the Player Code on your site, the verify button will change to a green check mark and the Integration Status will change to “Tech team is reviewing”:

At this stage, our devoted team will review the integration and make sure that the implementation is correct and the text read is correct.
As of so, the approval is not immediate and require some patience from your end. In exchange, you get a high level of service with minimum mistakes.
In case verification was not successful, you will be notified and should check the implementation or contact our support team.
Step 12: Start enjoying great audio content!
Once the tech team is done reviewing the integration (up to 2 business days) the player would be live and visible on your site, for users to enjoy quality audio content.
Site changes
In case your site goes into design or infrastructure changes, makes sure that:
The Player Code is still installed.
Correct text is being read.
The player design is not distorted or cut.